My husband gave me a PMP (portable media player) for our wedding anniversary. I love tech toys and this one is no exception. I decided I wanted a special case for it that I could wear as I went about my day. Now I can listen to podcast and music regardless of where I am or what I’m doing. The construction of the case/carrier really falls under more than one category, so I will be dividing this tutorial between Felted Finery and Fabrications.
You can make these little case/carriers any size you like. I think they would make very nice gifts for anyone with an iPod or MP3 player.
For the felted flower, you will need two colors of organza and some wool roving. I purchased a package of organza circles in the wedding section of my local craft store because they are the perfect size for hooping. (Sadly, they are of a lesser quality than organza yardage, but they work okay.)

Organza Yardage; Organza Circles
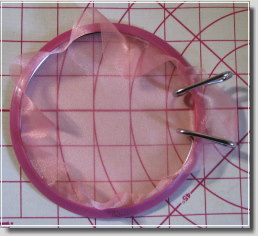
Hoop a circle of organza in a color that is close to the color of your wool roving. Although it’s not necessary, it helps to mark your small circular flower centers on the organza. Use a color that matches your roving since markings can show on the surface after felting.

Flower Center Markings
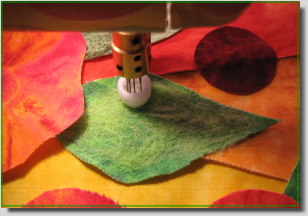
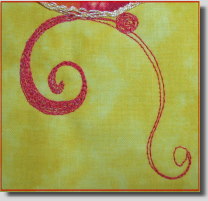
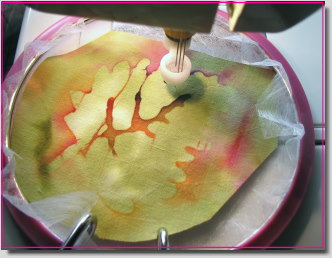
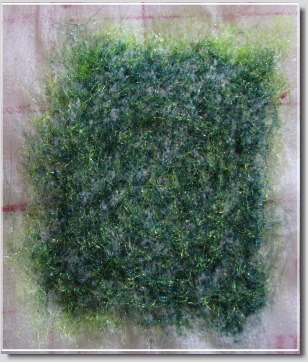
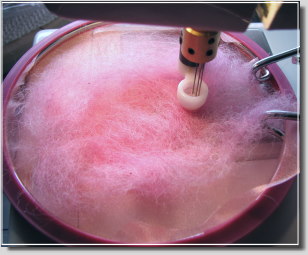
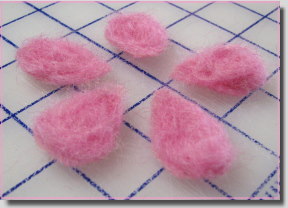
Place your hoop under the needles of your felting machine and position a small amount of roving on the outside edge of one of your marked circles. Working in a circular motion, slowly tack the roving down.

First Round of Roving
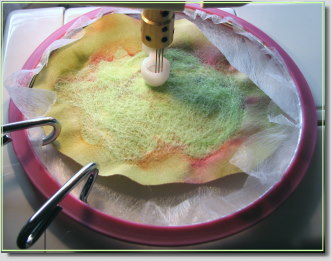
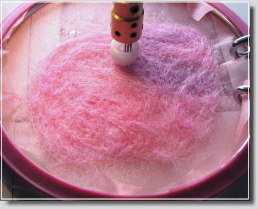
Pull a little more roving and work around the previous roving circle. When you are happy with the size of your flower, give it a more thorough needle punching.

Second Round of Roving
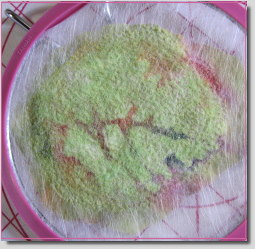
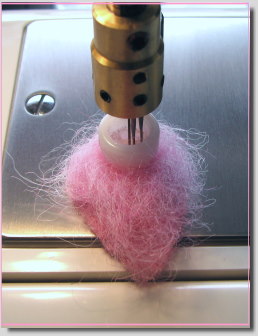
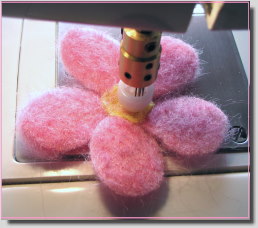
For the flower center, cut a circle of organza about three times larger than the bare center of your felted flower. Remove the organza base from the hoop and turn it to the wrong side. Place the cut organza circle over the center of your flower and slowly needle punch it, holding the edges of the organza so that it doesn’t bunch up under the needles.

Needle Punched Organza Center (Wrong Side)
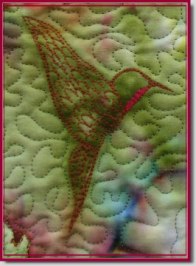
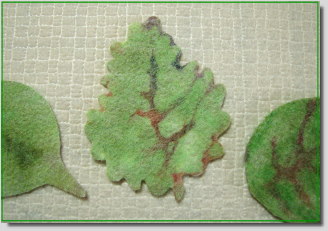
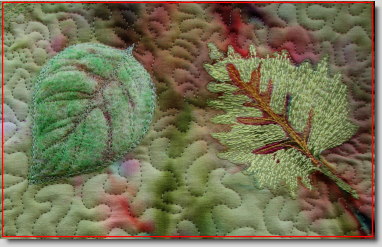
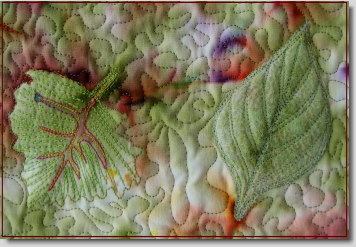
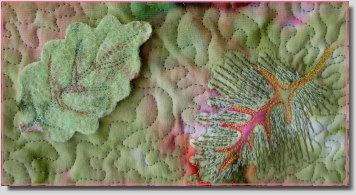
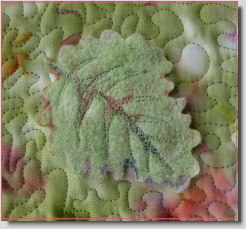
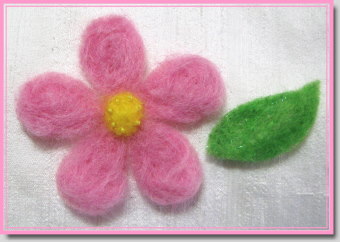
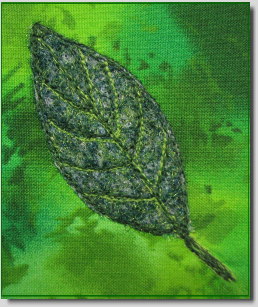
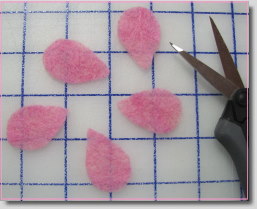
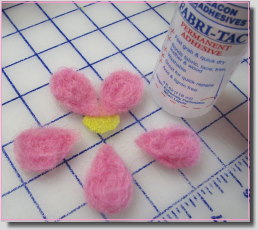
Turn your flower to the right side. The needle punched organza should fill the center. If it does not, needle punch it a little more until your center flower is lofty and textural. Turn the piece back to the wrong side and clip off any extra organza. (I felted a few leaves just for the fun of it, but they’re not necessary for this project.)

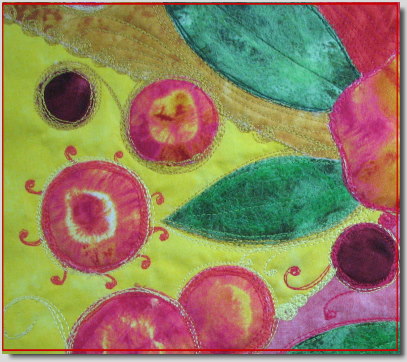
Trimmed Organza

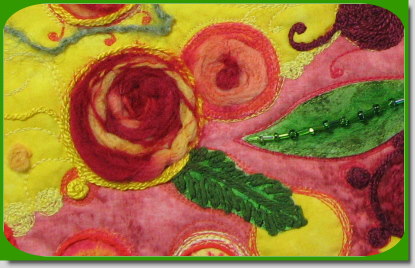
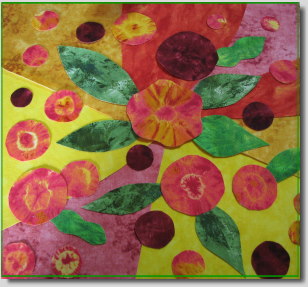
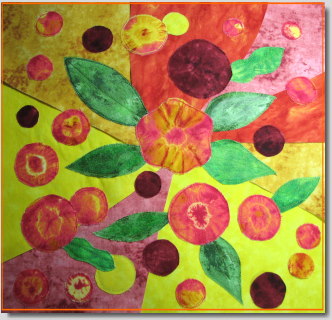
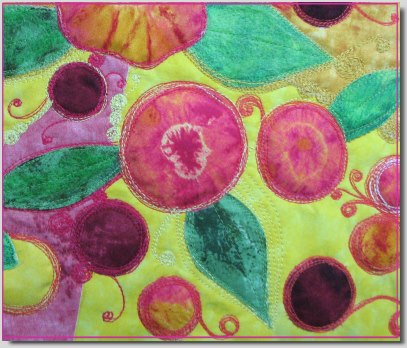
Completed Flowers
That completes the felting stage of this project.
~~~~~~~~~~~~~~~~~~~~~~~~~~~~~~~
Rene
Time Treasured